
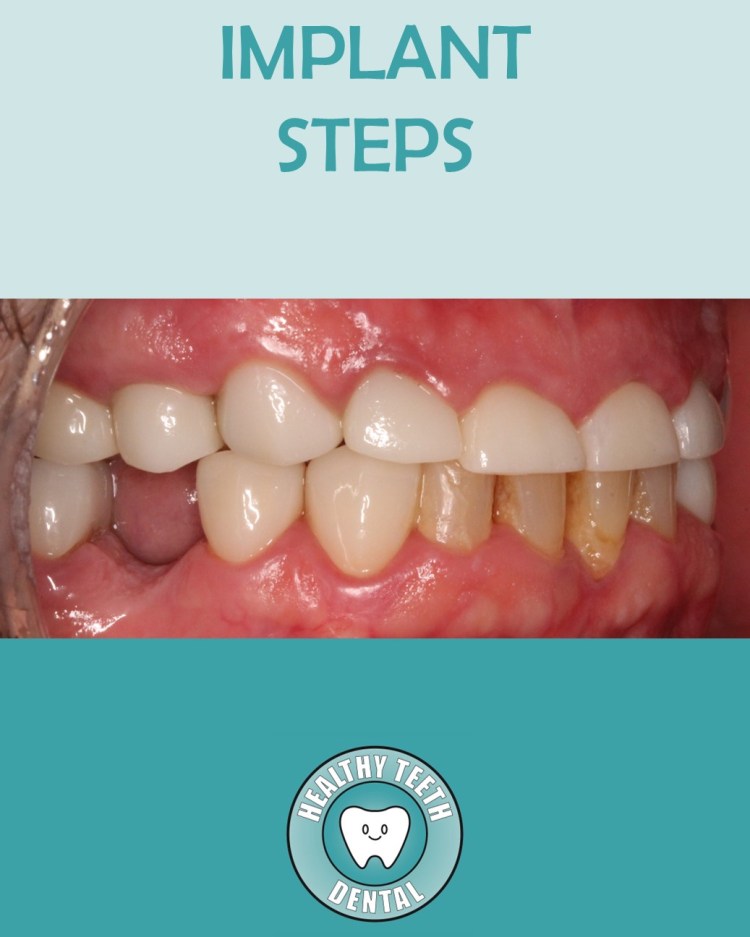
Dental Implant Process
- The best way to restore a missing tooth is with a dental implant!
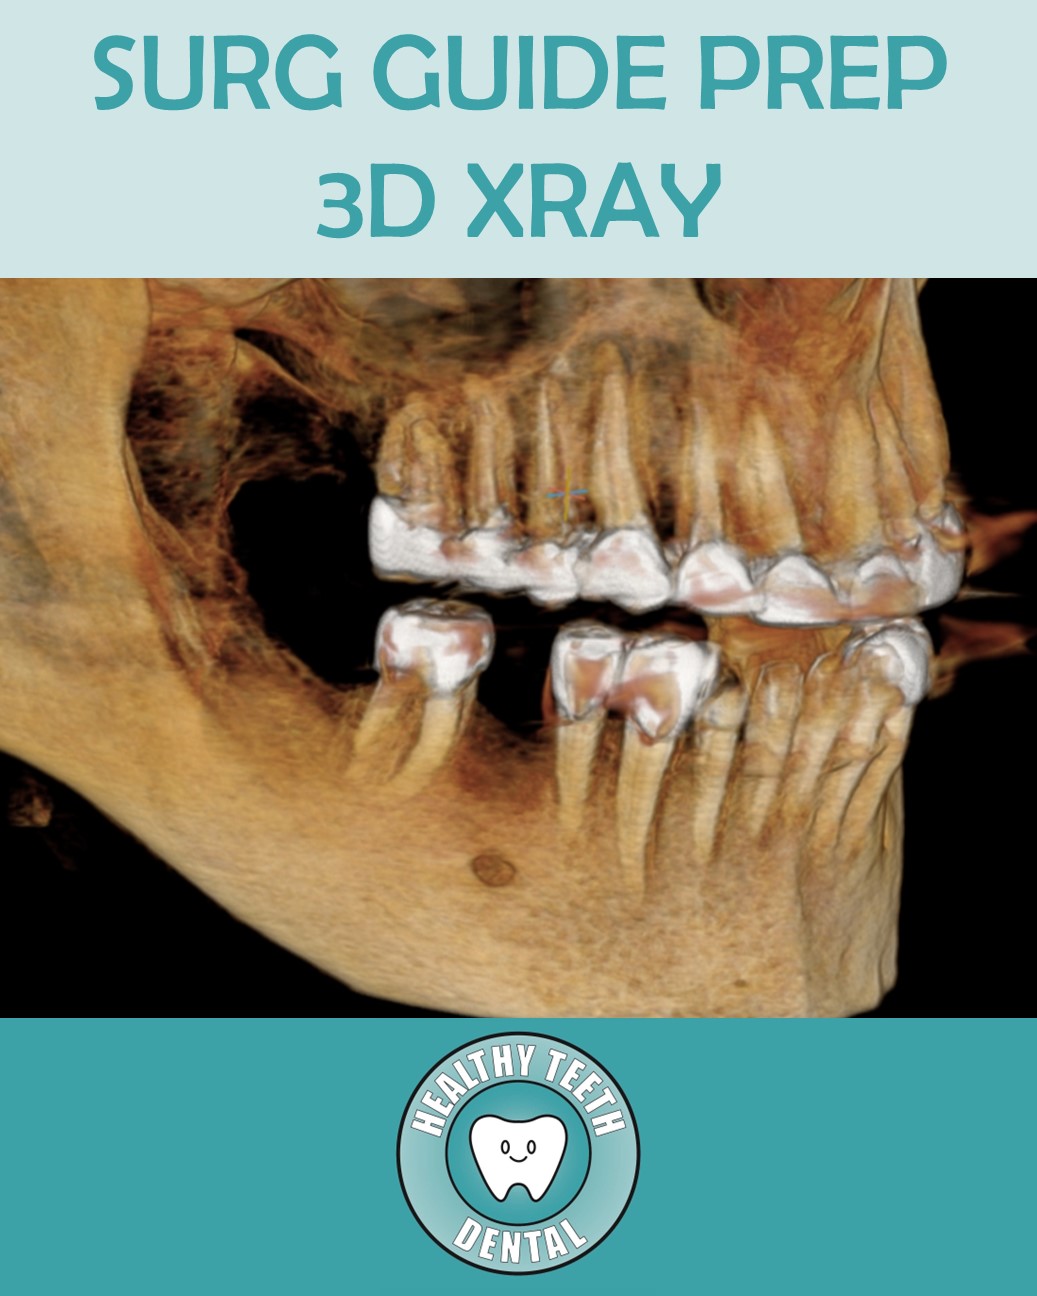
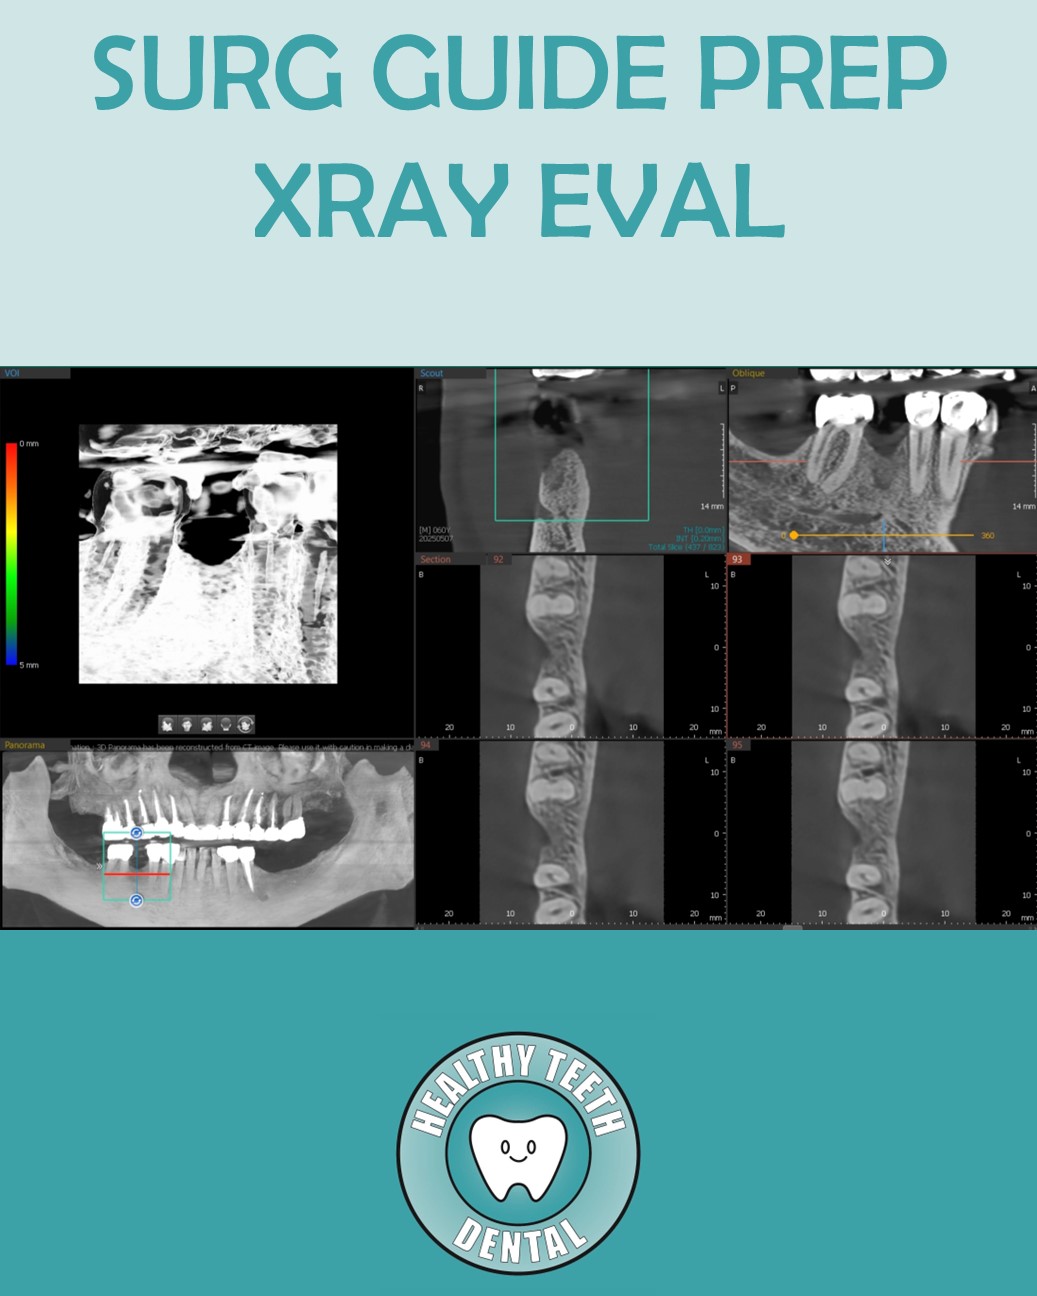
CBCT 3D Scan
- A 3D CBCT scan (3D X-ray) is taken to evaluate the available bone, implant site, and surrounding anatomy. This detailed imaging helps determine the ideal position and size of the dental implant.
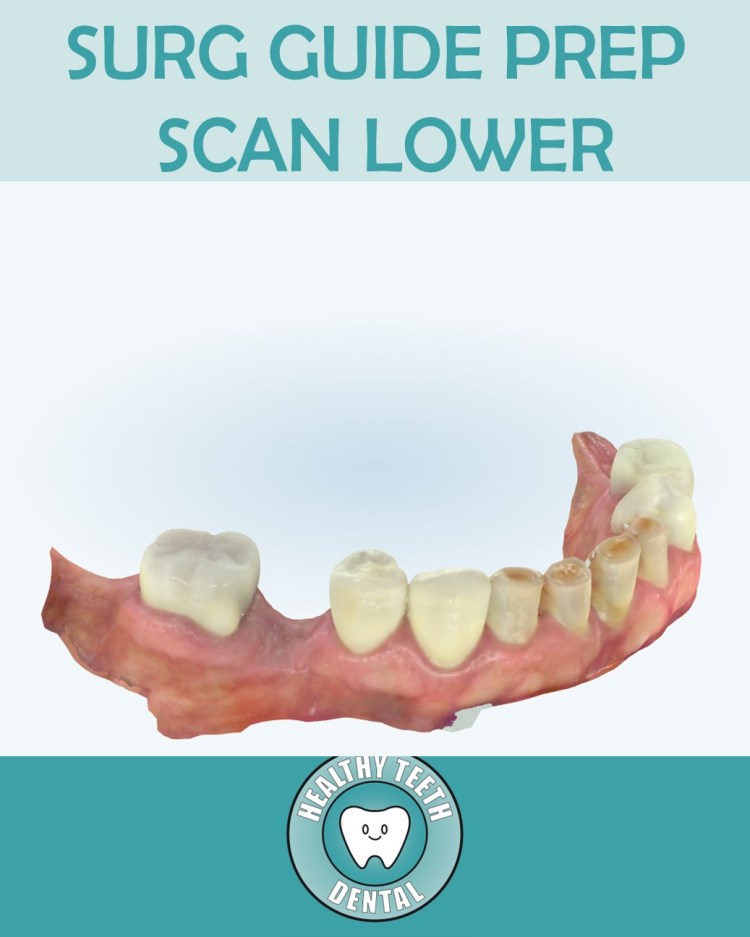
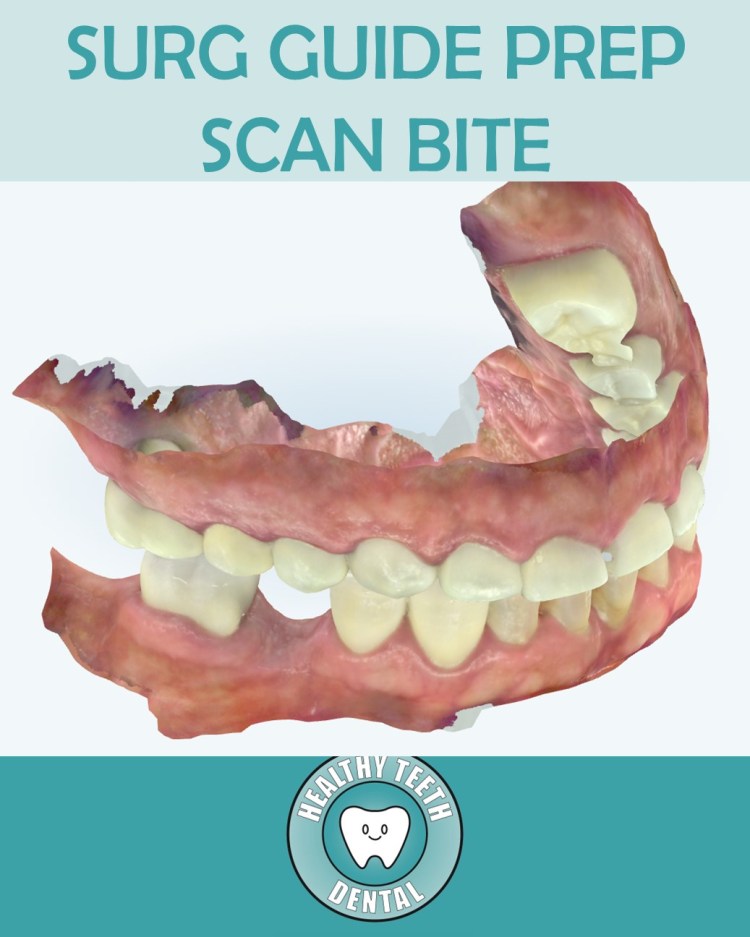
Intraoral Scan
- A digital intraoral scan captures a detailed 3D model of the patient’s teeth and gums. The scan is combined with the CBCT images to help plan the dental implant and design a custom surgical guide.
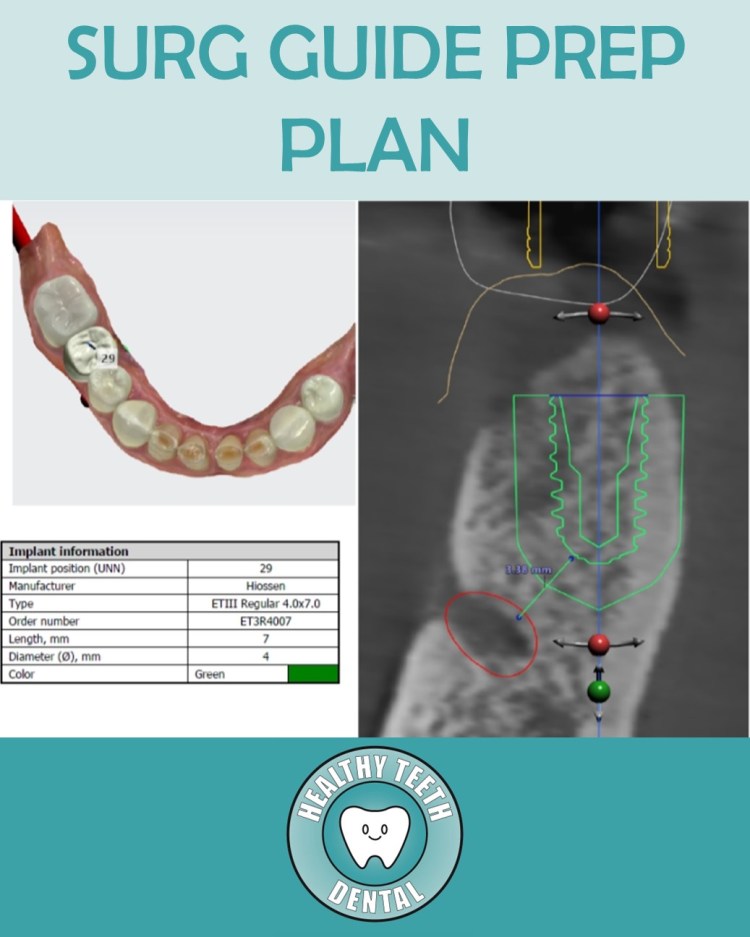
Surgical Planning
- The CBCT scan and digital intraoral scan are combined to create a 3D dental implant treatment plan. The implant position is carefully planned based on the available bone, surrounding anatomy, and the final restoration.
- A custom dental implant surgical guide is then designed to help transfer the digital plan to the mouth and guide the implant into the planned position during surgery.
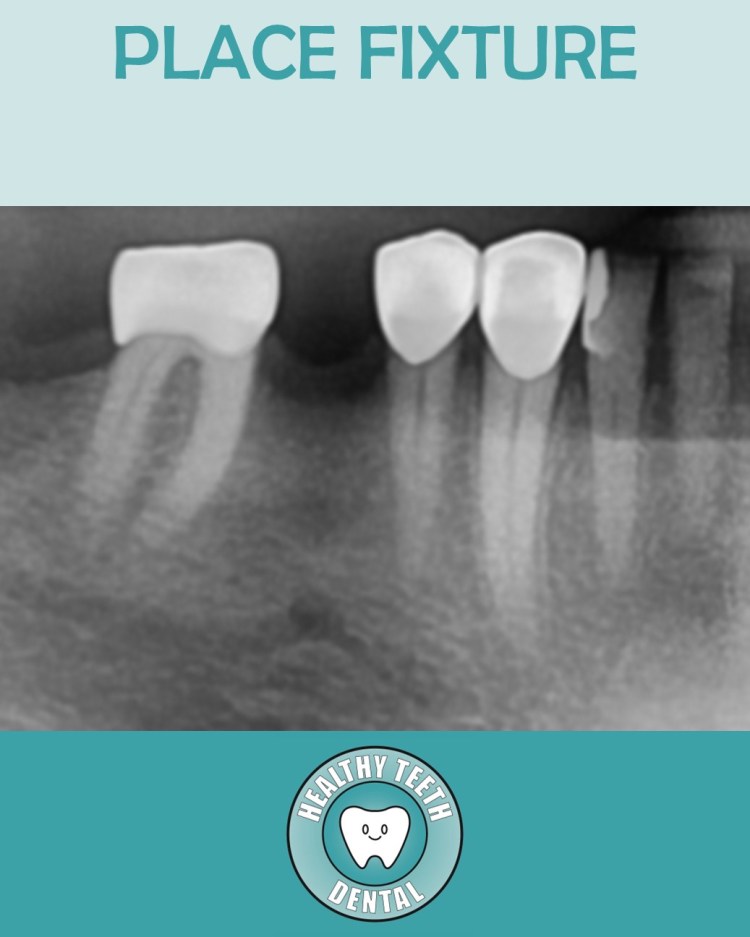
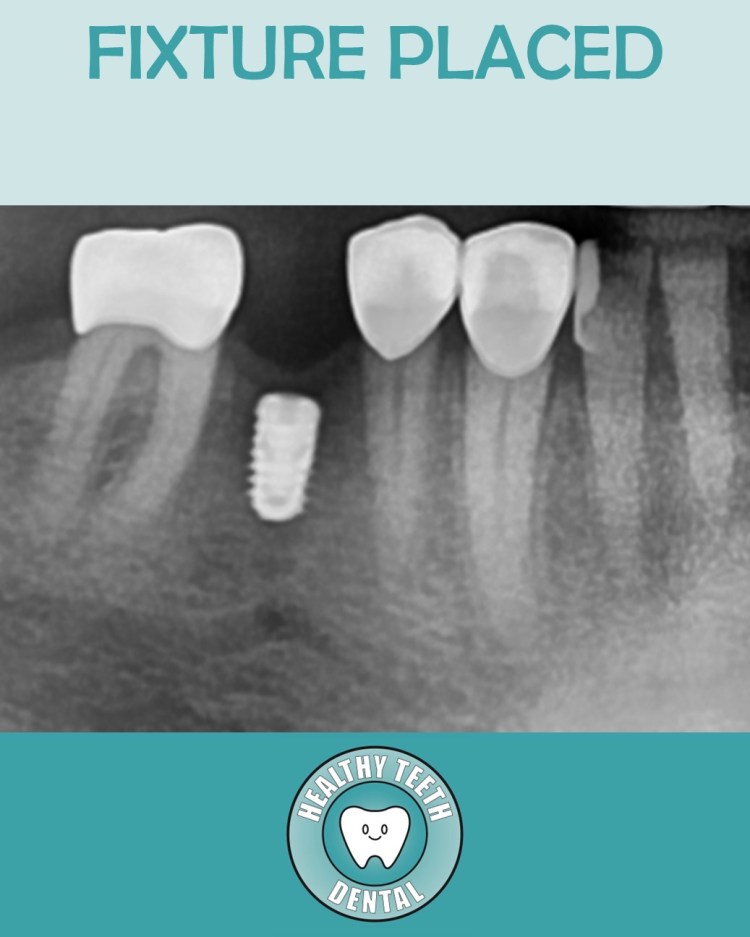
Dental Implant Surgery
- Using the digital treatment plan and custom surgical guide, the dental implant fixture is accurately placed into the jawbone in the planned position. The surgical guide helps transfer the 3D implant plan to the mouth for accurate implant placement.
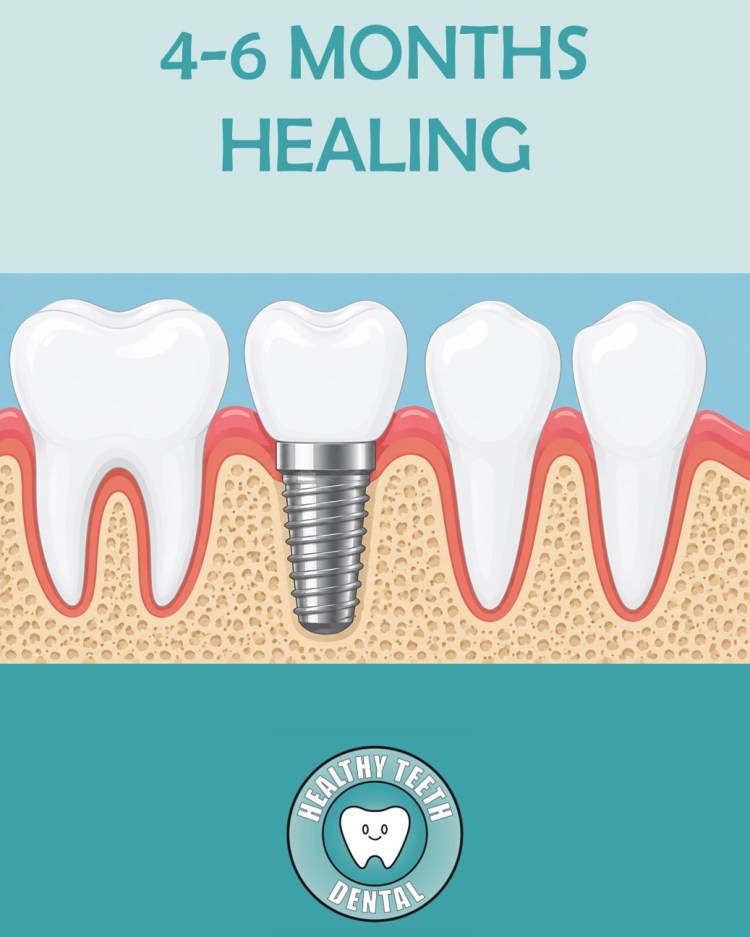
4-6 Months Healing
- After dental implant fixture placement, the implant is given time to heal and integrate with the surrounding jawbone, a process called osseointegration. Healing typically takes about 4–6 months, although the timeline can vary depending on the patient and treatment site.
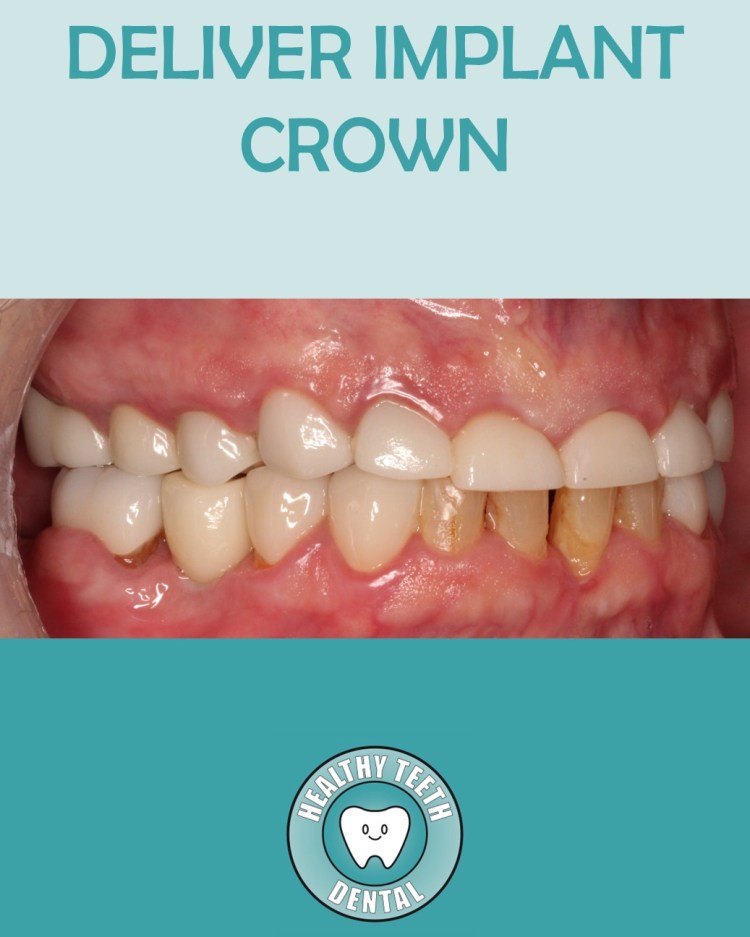
Final Dental Implant Crown
- After osseointegration is complete, a custom abutment and custom dental implant crown are fabricated and attached to the implant fixture. The final restoration is designed to replace the missing tooth and restore function and appearance.
Dental Implant Procedure (Detailed): Step-by-Step
Step 1 – Dental Implant Placement
Dental implant treatment begins with the surgical placement of a titanium dental implant fixture into the jawbone to replace the root of a missing tooth. Prior to surgery, 3D CBCT imaging and digital scans may be used to evaluate the available bone, surrounding anatomy, and ideal implant position. A custom surgical guide may be fabricated from the digital treatment plan to help accurately transfer the planned implant position to the mouth. When additional bone is needed, bone grafting may be performed at the time of implant placement or as a separate procedure. For certain upper back teeth with limited bone height below the maxillary sinus, a crestal sinus lift may also be performed when clinically indicated. After placement, the implant fixture is allowed to heal and integrate with the surrounding jawbone through a process called osseointegration. Healing commonly takes approximately 3–6 months, although the timeline varies depending on the implant site, bone quality, grafting procedures, and individual healing..
Step 2 – Implant Uncovering & Healing Abutment
For dental implants placed using a two-stage surgical approach, the implant remains covered beneath the gum tissue during the initial healing period. After adequate osseointegration, a small procedure is performed to uncover the implant and attach a healing abutment. The healing abutment extends through the gum tissue and allows the tissue to heal and develop around the implant in preparation for the final restoration. After the gum tissue has matured, the implant can proceed to the digital restorative phase.
Step 3 – Digital Implant Scan
Once the dental implant and surrounding gum tissue are ready for restoration, the healing abutment is temporarily removed and an implant scan body is attached to the implant fixture. A digital intraoral scan records the position and orientation of the implant along with the surrounding teeth, gum tissue, bite, and opposing teeth. This digital information is used to design the custom implant abutment and dental implant crown. After scanning, the scan body is removed and the healing abutment is placed back onto the implant while the custom restoration is fabricated by the dental laboratory.
Step 4 – Final Dental Implant Crown
Once the custom restoration is ready, the healing abutment is removed and the custom implant abutment and dental implant crown are placed. The custom abutment connects the implant fixture within the jawbone to the dental crown above the gumline. Depending on the clinical situation, the final implant crown may be screw-retained or cement-retained. The restoration is carefully evaluated for fit, bite, function, contacts, and appearance to provide a natural-looking and functional replacement for the missing tooth.
How Long Does the Dental Implant Process Take?
The complete dental implant process commonly takes several months. Treatment time varies depending on bone quality, healing, implant stability, the need for bone grafting or sinus augmentation, and the complexity of each individual case.
Healthy Teeth Dental provides dental implant treatment in Anaheim, CA, including dental implant placement, single-tooth implant crowns, implant-supported restorations, bone grafting, and crestal sinus lift procedures when clinically indicated.
714-956-8221

We want our website to be accessible to everyone. If you have difficulty using any part of this site, please call (714) 956-8221 or email healthyteethdental@yahoo.com so we can assist you. We continuously improve our site’s accessibility and welcome your feedback.
